Creating Your First Invoice
Step-by-step guide to creating and sending your first professional invoice.
Last updated: June 12, 2026
Create your first invoice in 3 simple steps. From the Invoices page, click New Invoice to open the invoice builder.

Step 1: Add Client Information
- Open Invoices and click New Invoice
- Under Client, select an existing client or click Add to create a new one
- Enter the client's name, email, and billing address
Step 2: Add Line Items
- Click Add Item in the Line Items section
- Enter a description (e.g., "Web Design Services")
- Set the quantity and rate — the amount calculates automatically
- Add more items as needed, and apply an optional discount or tax
Step 3: Set the Due Date & Send
- Choose a Due Date (for example, Upon Receipt or a set number of days)
- Pick a Payment Method so clients know how to pay
- Click Create & Review Invoice to preview it, or Save Draft to finish later
- From the invoice, send it to your client by email
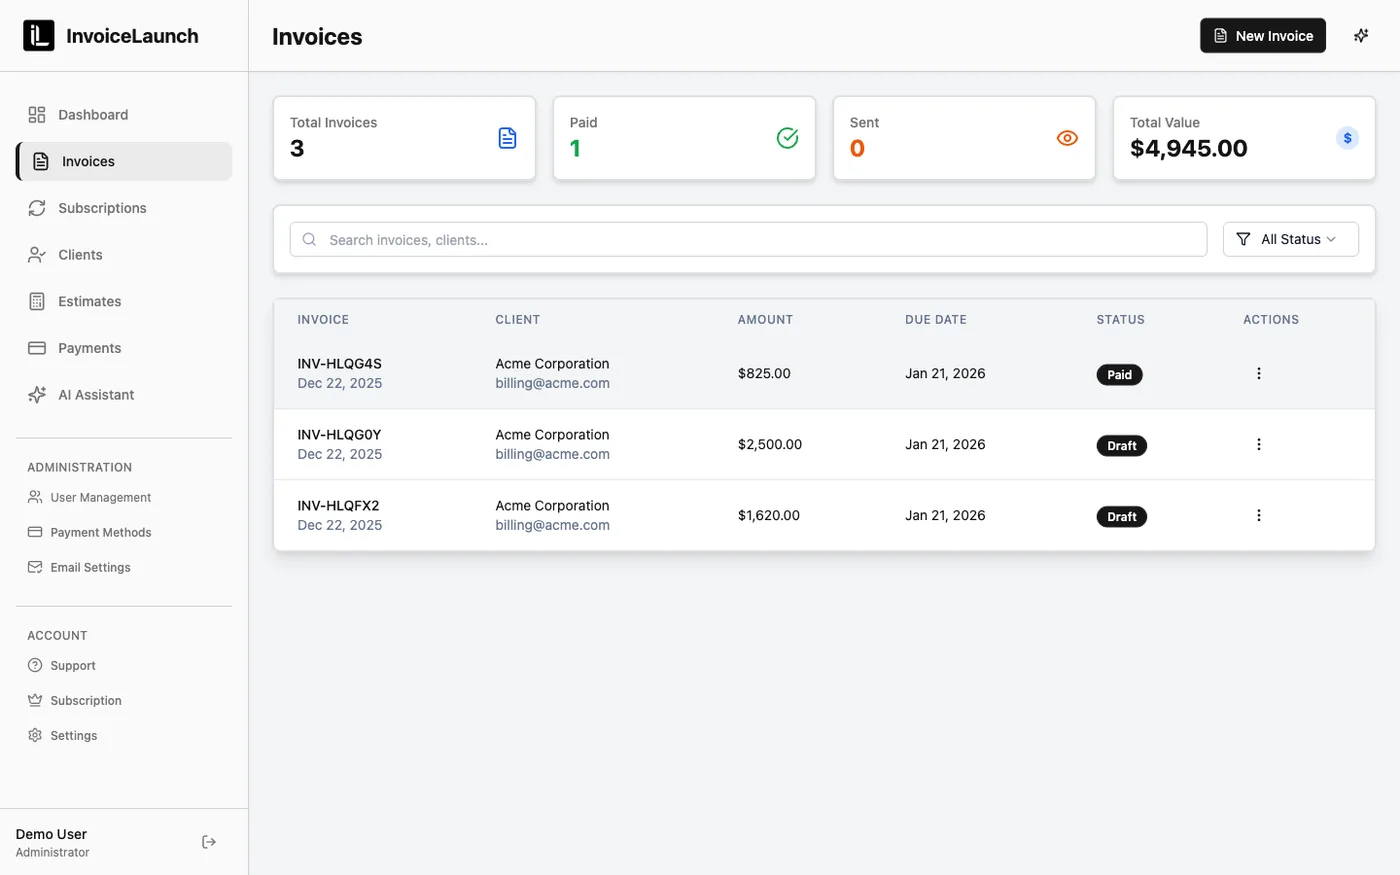
Your client receives a professional PDF invoice with a secure payment link. New invoices appear in your Invoices list, where you can track their status at a glance.
Pro Tip: Save frequently used services in your catalog and add them with From Catalog for faster invoicing.
Was this article helpful?